Adding images or files to entries and pages
Movable Type has long supported uploading images to your blog’s server, automatically generating thumbnails of those images, and inserting those images into your entries. You can now easily (a) manage the assets (images, files, etc.) you upload to Movable Type and (b) reuse them across your blog.
Uploading and inserting a new image into your entry or page
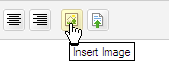
- When you are creating or editing an entry, place your cursor where you would like the image to appear and click the Insert Image button on the editor toolbar.
- This will open the Insert Image screen, where you can choose to insert an image you’ve already uploaded to the system, or choose to upload a new image. To upload a new image, click on the “Upload New Image” link at the top of the screen.

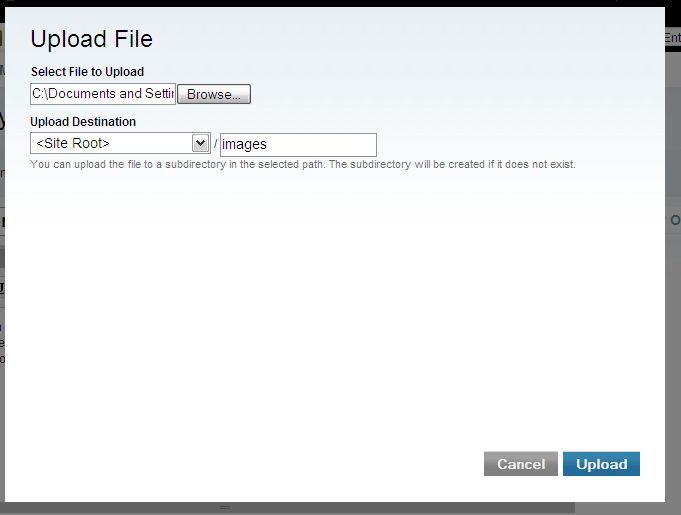
This will display the Upload File screen. On this screen you can select the image to upload. By default, Movable Type will store the file you are uploading in the blog’s root directory, but with the “Upload Destination” field you can customize where the system will store the file.
When you have selected your file and its destination, click the “Upload” button, and your browser will transfer the file to Movable Type.
Once your file is transferred, the system will display the File Options screen. This screen allows you to:
- Name the file you’ve uploaded in Movable Type’s asset management system for easy discovery and reuse.
- Describe the file in Movable Type’s asset management system.
- Tag the file in Movable Type’s
- Choose options for how to display the image in your entry or page. You can choose to:
- Display the image in the entry (this option is checked by default)
- Insert the image as a thumbnail in your entry
- Link the image to a full-size popup window
- Align the image to the left, right or center
- Remember these settings for the next time you upload a photo

- Click on the “Finish” button and Movable Type will insert your image into your post with the options you have selected. If you are using the Rich Text formatting option, the editor will display your image inline. If you are using another text formatting option, the system will insert HTML into your entry or page where your cursor was when you clicked the “Insert Image” button.
Uploading a file into your entry or page
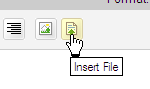
- To upload a file and link it from your entry or page, click on the Insert File button on the editor toolbar.
Uploading a file into your entry or page follows the same general process as outlined above for uploading an image, but will not present the image options in the File Options screen.
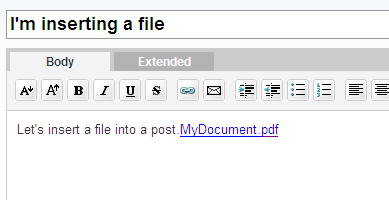
When you finish uploading the file, the system will insert a link to the file you have uploaded.
Mathew on October 1, 2007, 10:01 p.m. 返信
This functionality is great - but what if I don’t want all the extraneous code wrapped around my ?
It gets tedious having to switch from Rich Text mode to code view, deleting all the inline CSS and elements, and I can see authors who don’t know code getting thrown by this.
Jerry on December 29, 2007, 1:05 a.m. 返信
I’ve uploaded an image which worked just fine except now I’ve a broken link on my blog page under “Photos” where I assume a thumbnail would normally be. And I suppose this is becuase I don’t have the perl module “Image::Magick” which I can’t seem to find using the package manager. I’ve installed on Windows using perl 5.8… If anyone has a fix for this, please e-mail me at jerry@hoffmeisters.com
Kevin on October 7, 2012, 8:04 p.m. 返信
I’d like to see information on how to embed a video on an entry or page.