Getting Started: Configuring Motion
Here are the initial settings for sites constructed with Motion template sets. These settings must be made prior to launching the site.
Community Settings
These basic settings must be made prior to operating a Motion blog.
- To get to the community settings page, under the blog menu’s “Settings”, choose “Community Settings.” You will be redirected to the community settings page.
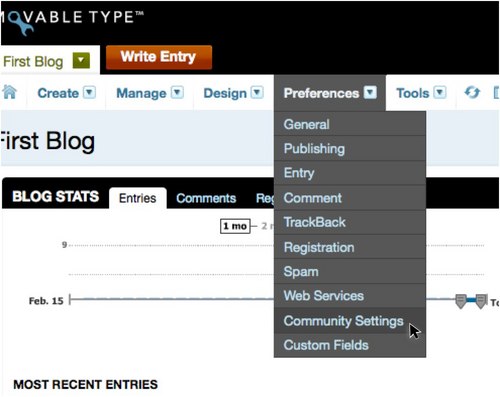
- On the community settings page, set the following items:
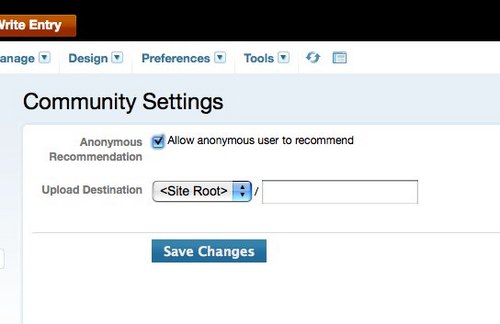
- Anonymous Voting
Check this box if you’d like to allow unregistered users to record favorites. Checking this box will enable unregistered users to record favorites, but because unregistered users are identified by their IP addresses, repeat registration is impossible. - Upload Storage Area
Choose where to store uploaded images or audio files posted with the Quick Post form.
- Anonymous Voting
Authorizing User Registration
Follow these steps to allow readers and other users to post to a Motion blog.

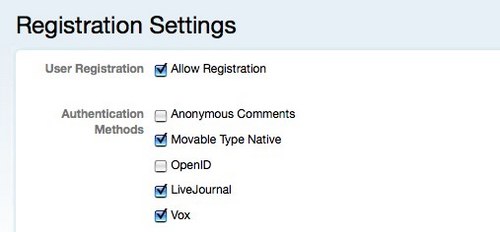
- Under “User Registration”, click “Allow commenters to register with Movable Type.”
- Then, under where it reads “Notify Below System Administrator of Registration”, click “Choose System Administrator” and choose which System Administrator will receive email notifications when new users register.
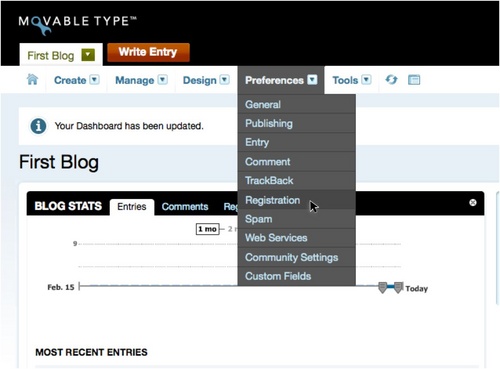
You will be redirected to the dashboard of the blog for which you’ve chosen to allow user registration. - Under the menu’s “Settings”, click “Registration/Verification” and you will be redirected to the Registration/Verification settings page.
- Check the “User Registration” check box.
- Save your changes.
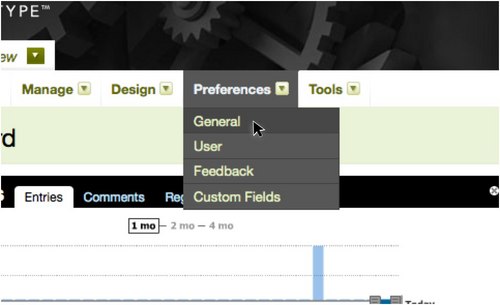
- Under the system menu’s “Settings”, choose “User”, and you will be redirected to the System: User settings page.

- Where it reads “Notify Below System Administrator of New Registration”, click “Choose System Administrator.”
- A dialogue box for choosing users will appear. Put a check in the box next to the system administrator you’d like to receive notification emails, and click “Confirm.”
- Finally, click the “Save Changes” button.
- Under the system menu’s “Settings”, choose “General” and you will be redirected to the general system settings page.
- On the “System Email Address” form, enter the email address you’d like outgoing mail to be sent from. Click the “Save Changes” button.
Failure to provide an email address in this field will prevent new users from registering for the site. Without this email address, an email to confirm the new user’s email address cannot be sent.
The primary email address can be set during installation of Movable Type or when a user account is created (in this case, the user account holder’s email address is used).
Customizing Outgoing Email
Because the content of outgoing emails (user registration emails, comment notification emails, etc) is managed with the global template’s email template, you can customize these templates to add advertisements and notices to the emails. For more information on customizing emails, please see the document: Customizing Emails.