Dashboard Widgets
Movable Type’s Dashboard is designed to give administrators and users of Movable Type an overview of activity happening within the system or on a single blog. Movable Type ships with a number of dashboard widgets by default, including the following:
- This is You - a mini-stats about your authoring stats
- Tag Cloud - a list of frequently used tags
- MT News - a summary of the latest Movable Type news
- Shortcuts - a list of handy links users commonly access
Movable Type allows developers to define their own Dashboard Widgets using Movable Type’s templating language. These widgets can then be registered with the system to allow users to add them to their dashboard with a click of a button. Here are some samples widgets from some of Movable Type’s more popular plugins:
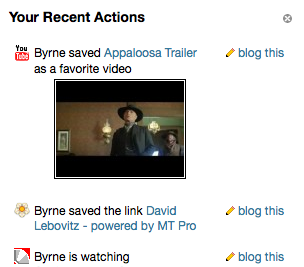
Action Stream Dashboard Widget
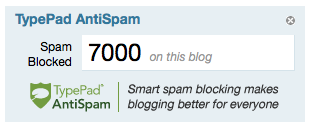
TypePad AntiSpam Widget
Registering a Widget
To register a widget consult the following sample config.yaml:
name: Example Plugin for Movable Type
id: Example
description: This plugin is an example plugin for Movable Type.
version: 1.0
widgets:
    hello_world:
        label: Hello World
        plugin: $Example
        template: hello_world.mtml
Then in tmpl/hello_world.mtml you place the following code:
<mtapp:widget class="widget hw-widget"
label="Hello World"
can_close="1">
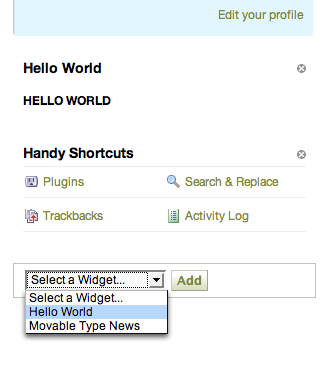
<h1>HELLO WORLD</h1>
</mtapp:widget>
When all is said and done, users should be given the option to add your widget to their dashboard using a simple pull-down menu.
Registry Properties
system_permission and permission - Requires a certain permission or system-wide permission (on the system dashboard) to add and use the widget. For example,
permission => 'post'would require the user to be able to post to the blog to add your widget to that dashboard. Specify more than one permission using commas.condition - Requires a custom handler to approve of the user and dashboard to add and use the widget. Your coderef is passed
($page, $scope)where$pageis"dashboard"and$scopeis either"dashboard:system"or"dashboard:blog:blog_id".singular - Allows only one instance of the widget on a dashboard, if set true. The widget won’t show up in the “Add widget” list if it’s already been selected.
set - Specifies only a certain column of the dashboard can contain the widget. Set it to
mainorsidebarto only allow the widget in one or the other.code or handler - Customizes the widget’s runtime environment however you like. The callback/handler you specify here will be called with parameters
($app, $tmpl, $widget_param)where$tmplis the template you specified withtemplateand$widget_paramis the parameter set against which your template will be built. When your callback is called it will already contain:- The keys and values from the dashboard page so far
- The
paramvalue from your widget config (I don’t fully grok widget config) blog_idif anywidget_block, the part of the dashboard your widget is in (mainorsidebar)widget_id, the key you filed your widget under in the registrywidget_scope, the scope of the dashboard your widget is in (seeconditionabove)widget_singular, what you set in yoursingularoptionmagic_token, your CSRF-proof token for submitting forms
Note that if through your template or code callback you set the html_head or js_include variables, those values will be appended to the dashboard page’s variables of the same name. You can inject stylesheets and behavior that way. No other content is allowed to escape your widget processing.